Overview
This document describes the steps to create a site with Hugo, manage it with Github, and build it with Netlify from scratch. With this method, you can easily publish by just pushing your Markdown-written blog to Github.
This guide also covers how to set up a favicon.
Process
- Generate a site with Hugo
- Push to Github
- Deploy with Netlify
- Set up Favicon
Generating a Static Site with Hugo
First, install Hugo.
| |
Create a template for the blog.
| |
Add a theme suitable for the blog as a submodule.
| |
Apply the theme by adding it to hugo.toml.
| |
Start the server.
| |
Access the URL like http://localhost:51517/ shown in the startup log Web Server is available at http://localhost:51517/ (bind address 127.0.0.1) to view the locally launched static site.
Tips
- If you want to change the Hugo theme, please choose your favorite one from Hugo Themes.
- It’s recommended to run through until you build with Netlify first, as this can be changed later.
- The way to write Toml files is described in Configure Hugo.
Push to Github
Create a repository on Github.
After creation, execute the following commands to push your site.
| |
Once the push is complete, the source code becomes viewable on the Github UI.
Deploy with Netlify
Access Netlify and perform deployment.
There are instructions on Hugo’s official website, so refer to them for integration.
Follow the instructions to complete the deployment, and the result of the Deploy will be shown as published.
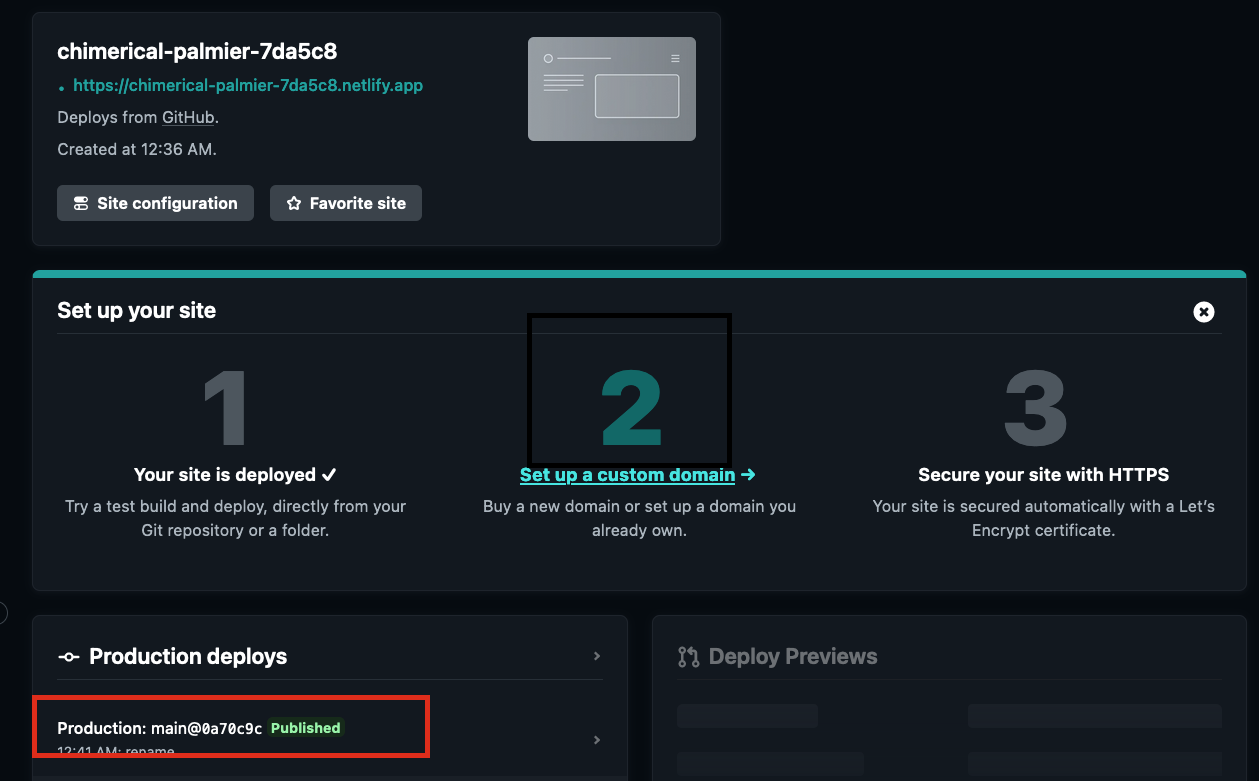
Click on the URL displayed on the site to access the deployed site.

This completes the deployment process. After this, any changes made and pushed to main will automatically trigger deployment, updating the site content.
Setting Up Favicon
A favicon is an icon displayed in bookmarks, browser tabs, and home screens. Google has published favicon guidelines for appearing in search results. Following these guidelines will help your favicon appear in search results.
Creating a Favicon
To create a favicon, use the following website:
Access the site, upload the image you want to use as a favicon, and click “Generate Favicon”. Then click “Download the generated favicon” to download your favicon.
Displaying Favicon in Hugo
To display a favicon in Hugo, the method varies by theme, but most themes allow you to simply add the following to your toml configuration:
| |
Place the downloaded favicon.ico in the static/images/ directory and add the above configuration.
Summary
This guide covered how to publish a blog with Hugo + Netlify + Github.
- Hugo: Generate static site
- Github: Manage source code
- Netlify: Automatic deployment
- Favicon: Branding configuration
With this setup, you just write articles in Markdown and push to Github for automatic site updates.
Related Articles
- How to Set Up Google Analytics with Hugo - Adding analytics
- How to Add Your Blog to Google Search Using Google Search Console - SEO setup
- Introduction to Using Lighthouse - Performance measurement
- Using ChatGPT to Make a Hugo Blog Multilingual - Multilingual support
- Setting Up Twitter Social Cards - Social media optimization