Overview
This article briefly explains how to set up Google Analytics with Hugo.
Steps to Implementation
- Register with Google Analytics
- Obtain the Tracking ID
- Add the Tracking ID to Hugo’s configuration
Registering with Google Analytics
Follow the instructions on Setting up a new website or app with GA4 to register.
When you add a data stream, you will get a Tracking ID, so make a note of it.
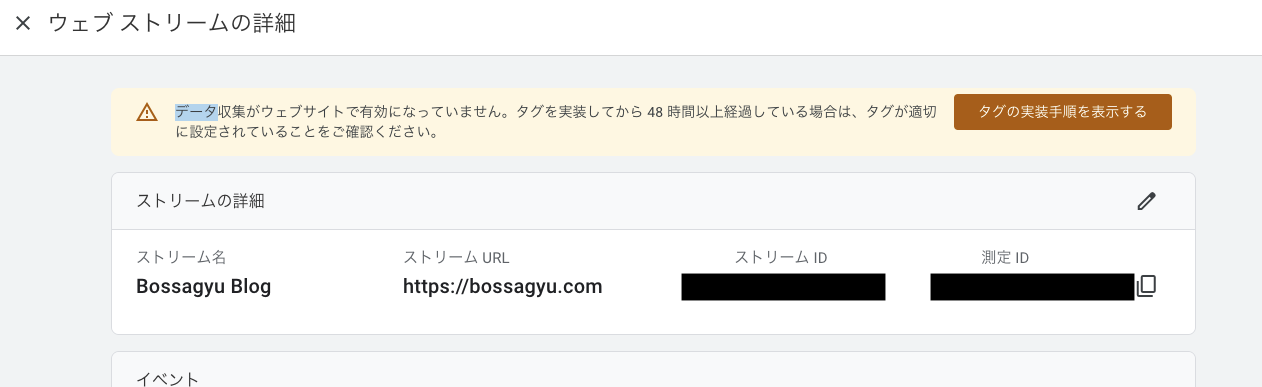 ※ The Tracking ID may be displayed as “Measurement ID” due to translation.
Adding Tracking ID to Hugo’s Configuration
Add settings in toml
Add googleAnalytics = Tracking ID to your config.toml.
| |
Embedding the Tracking Code
Some templates might read settings from the toml file, but the bearcub template I use does not support this, so I added the tracking code to the header myself.
For the code snippet, I referred to Makumaku Hugo Notes.
Create layouts/partials/analytics.html to load the tracking code.
| |
Make the page header load analytics.html.
| |
Add {{- partial "analytics" . -}} to baseof.html.
| |
After adding the above source code and rebuilding, data will be sent to Google Analytics.
Tips
If it seems like data is not being transmitted to Google Analytics despite these steps, it’s possible that the tags have not been added correctly.
To troubleshoot, first check if the tracking is included in the HTML by using Google Developer Tools.
Related Articles
- Publishing a Blog with Hugo + Netlify + Github - Blog initial setup
- Using Google Search Console to Make Your Blog Searchable on Google - SEO setup