Overview
This article will guide you through installing Stable Diffusion Web UI on Mac and using it locally.
What is Stable Diffusion?
Stable Diffusion is a type of image processing technology using AI. By inputting text, it can generate images corresponding to that text.
Ways to Use Stable Diffusion
There are two main ways to use Stable Diffusion:
- Using web applications like Hugging Face or Dream Studio
- Using Stable Diffusion Web UI locally
This article focuses on using Stable Diffusion Web UI locally. While web applications are easy for trial purposes, they might have limitations or costs for generating a significant number of images. Thus, local usage is recommended for more extensive needs.
How to Use Stable Diffusion Web UI Locally
We will use stable-diffusion-web-ui published by AUTOMATIC1111 for this purpose.
- Prepare the environment
- Install stable-diffusion-web-ui
- Place the model files
- Start stable-diffusion-web-ui and generate images
1. Preparing the Environment
First, we need to install Python and other necessary libraries using homebrew.
Install homebrew:
|
|
Set the homebrew path:
|
|
Install related libraries:
|
|
Set up the Python environment using pyenv. This allows you to use multiple versions of Python. For building the Python environment, refer to this article.
|
|
2. Installing stable-diffusion-web-ui
Clone the repository using git clone:
|
|
Set up a virtual environment using venv to keep the environment clean:
|
|
Now the environment is ready.
3. Placing the Model Files
Next, download the model files and place them in the stable-diffusion-webui/models/Stable-diffusion/ directory. Model files can be downloaded from sites like:
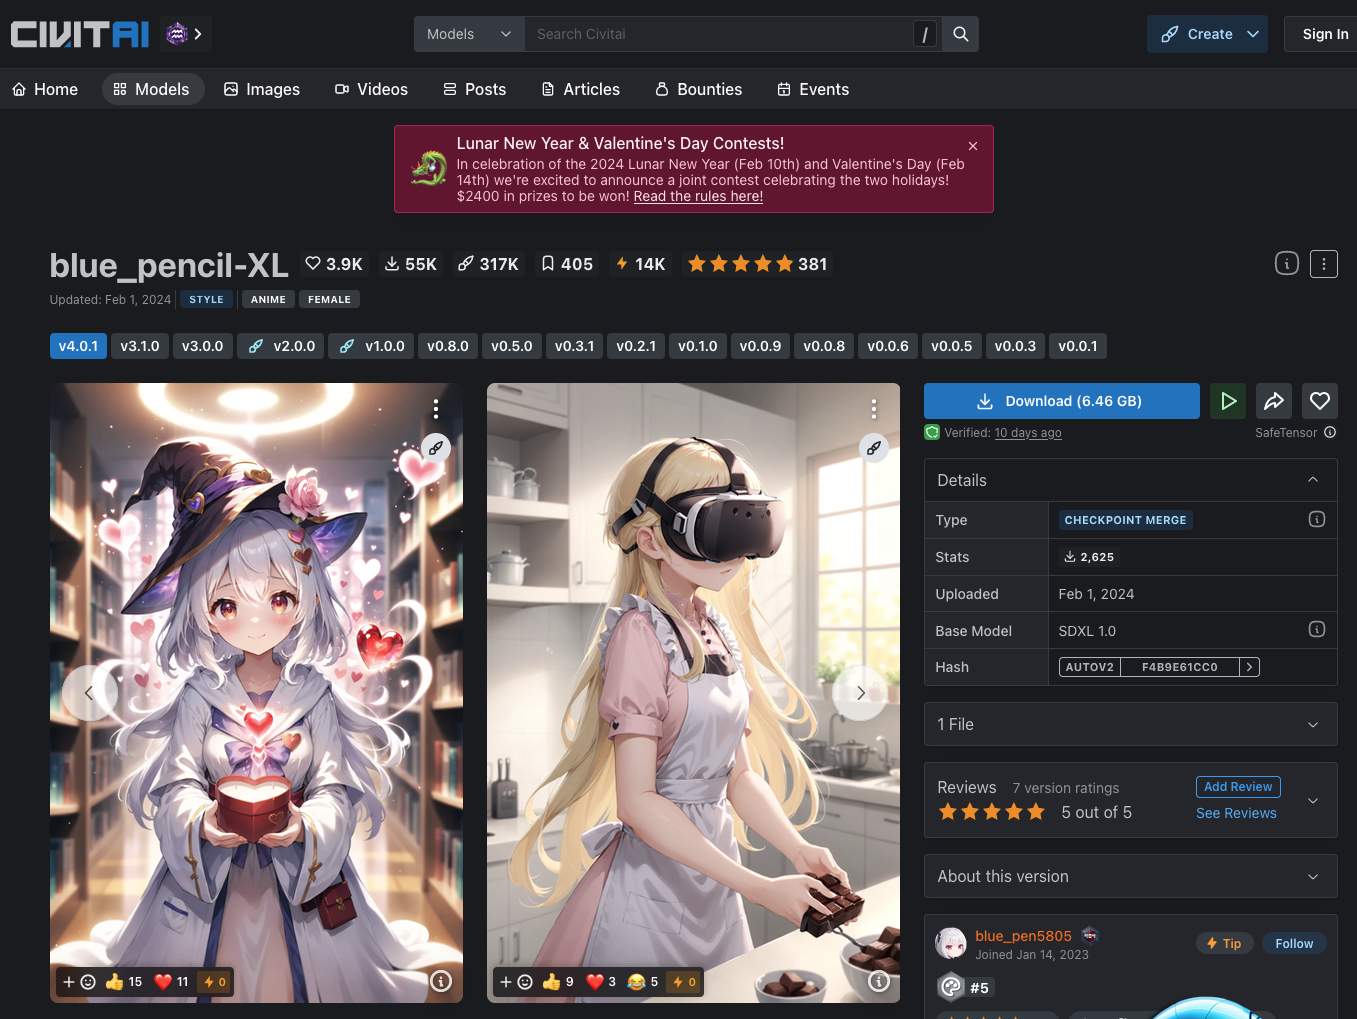
For this example, we’ll download the blue_pencil model from Civitai.
Search for blue_pencil in Civitai’s search bar, select blue_pencil from the search results, and click the Download button.
Move the downloaded model to the directory:
|
|
4. Starting stable-diffusion-web-ui and Generating Images
Finally, start stable-diffusion-web-ui and generate images:
|
|
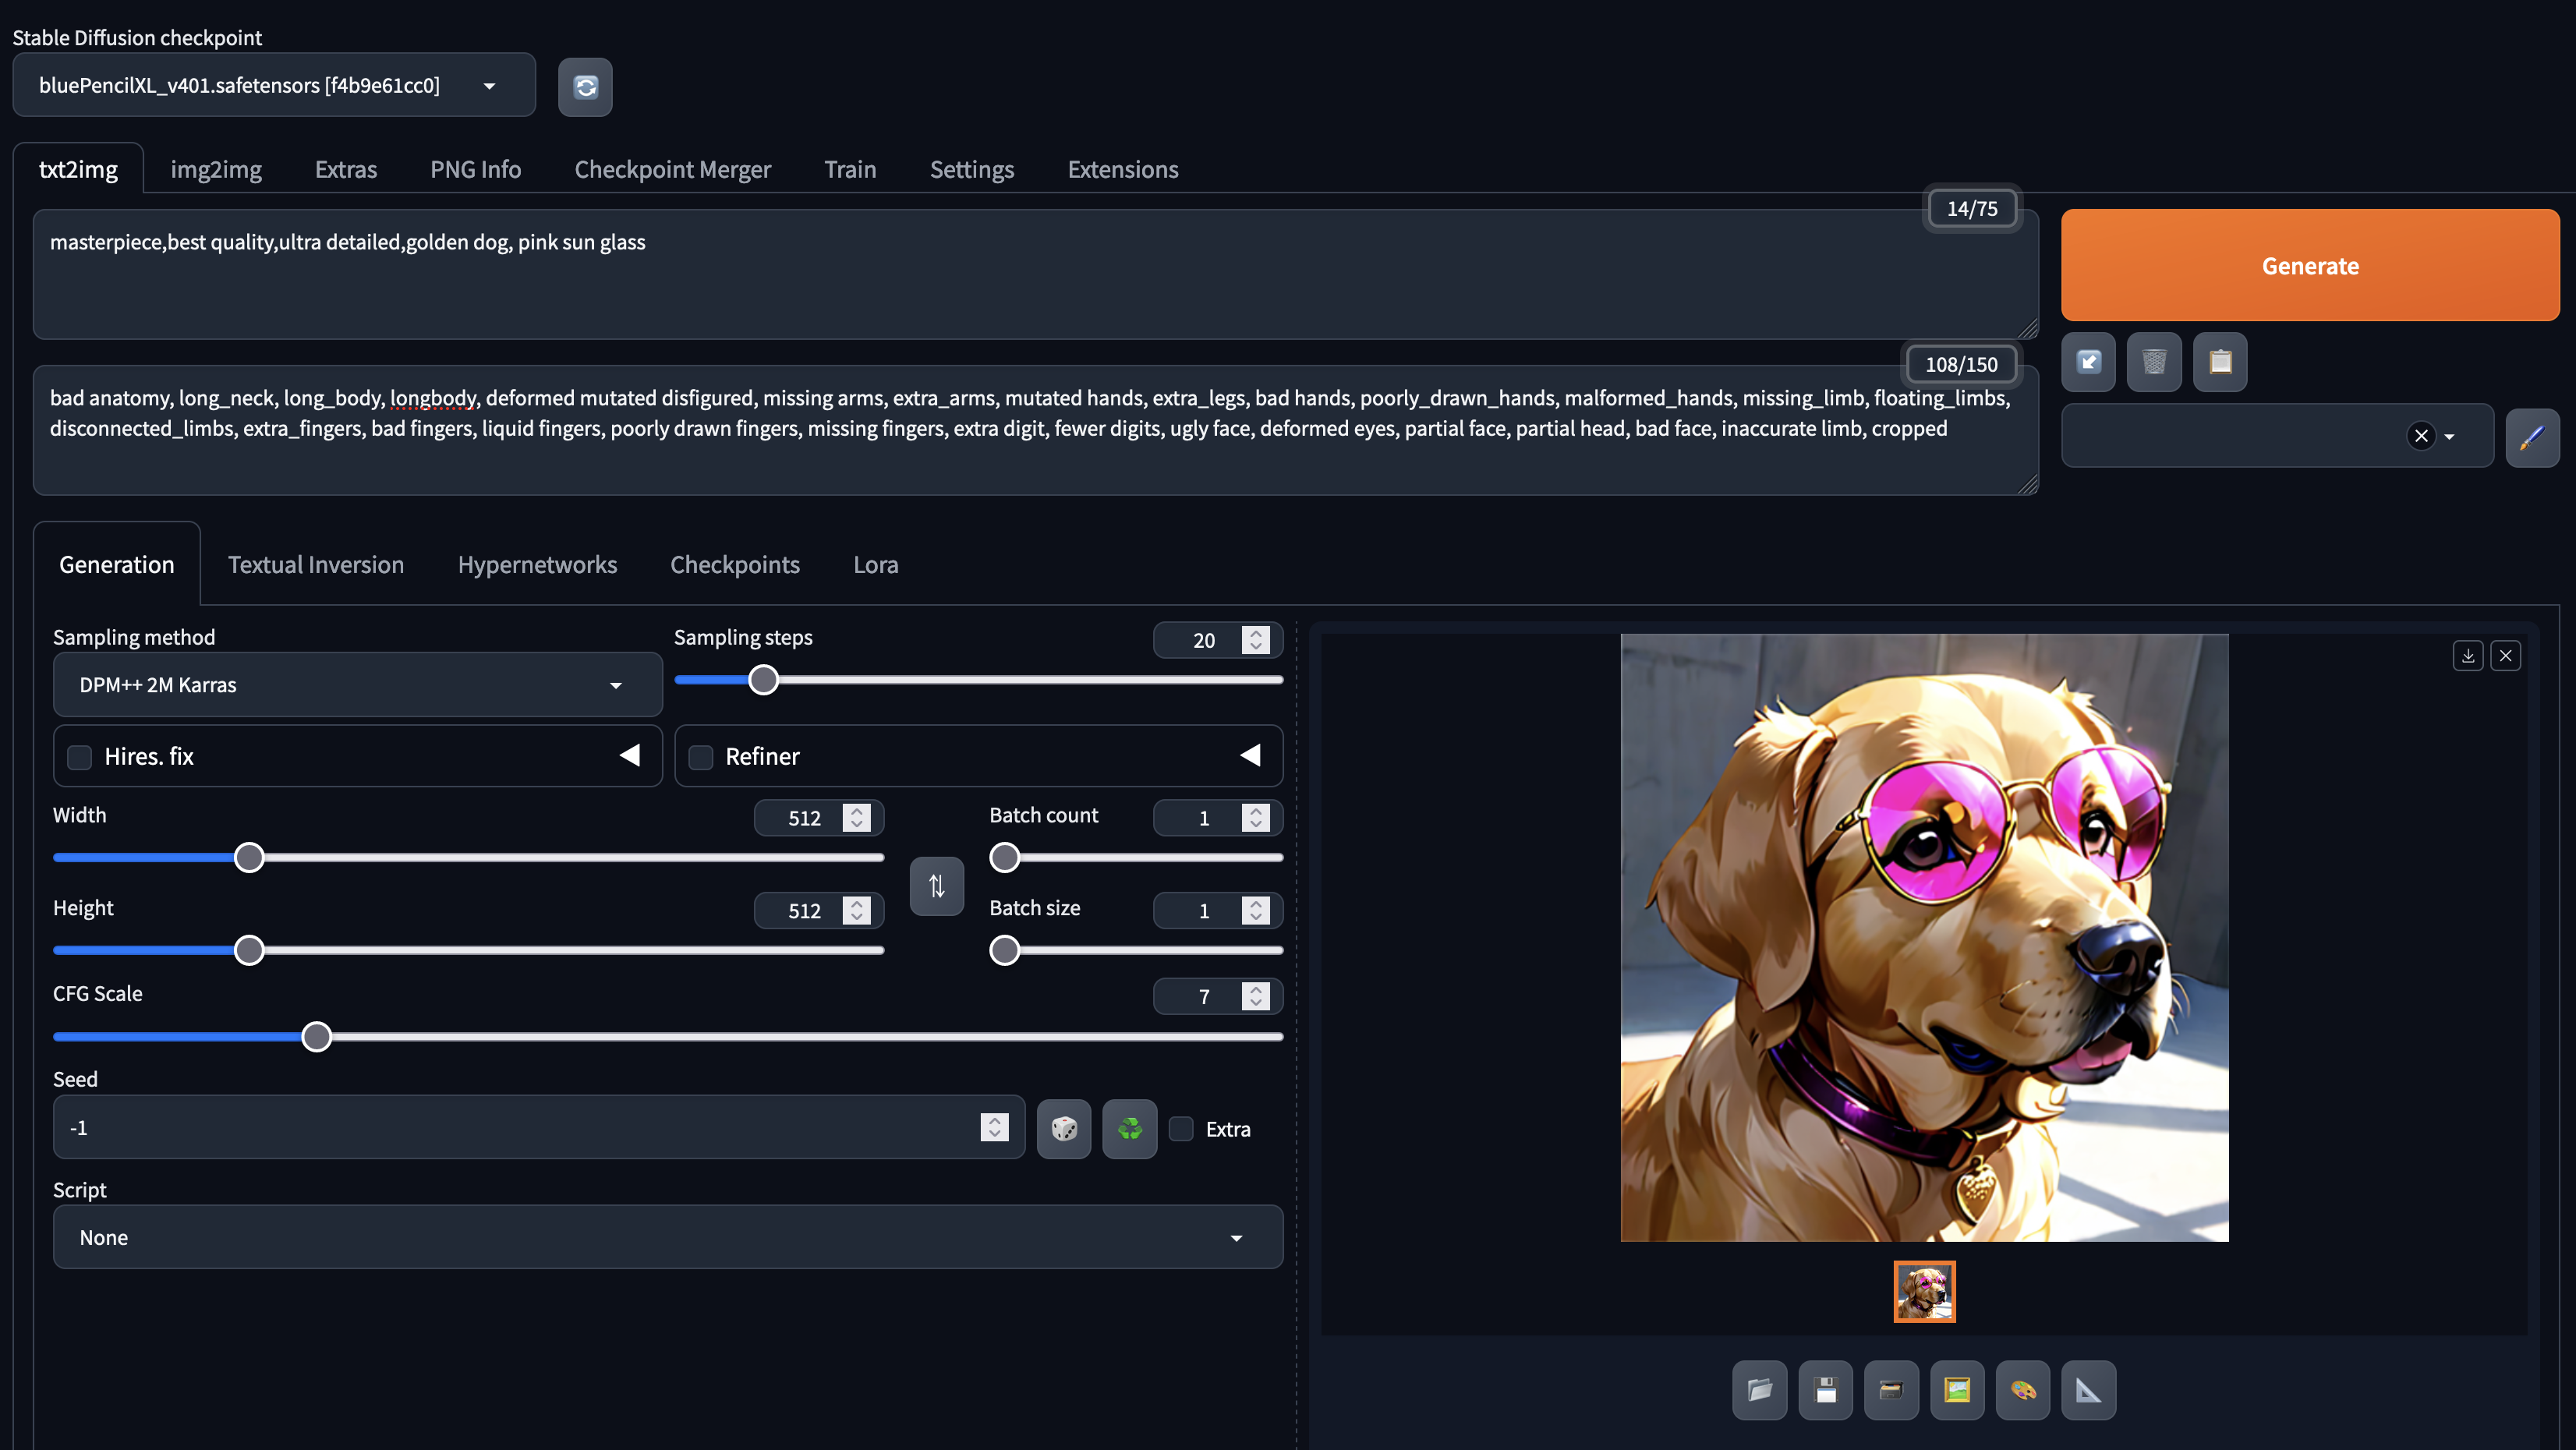
After launching, input the text in the prompt and generate images:
- Select the downloaded
blue_pencilmodel in Stable Diffusion checkpoint. - Enter elements you want in the image in the prompt.
- Enter elements you don’t want in the image in the Negative prompt.
- Click Generate.
By inputting “a dog wearing pink sunglasses,” the output matched the input. You can generate various images by inputting different texts.
Summary
This article introduced how to install and use Stable Diffusion Web UI on Mac locally. Using it locally allows you to generate images freely without the limitations or costs associated with web applications.

